THE KINKÉ BLOWOUT™
The Ritual
Wrap your set, give it time, then find the finish that feels like you.
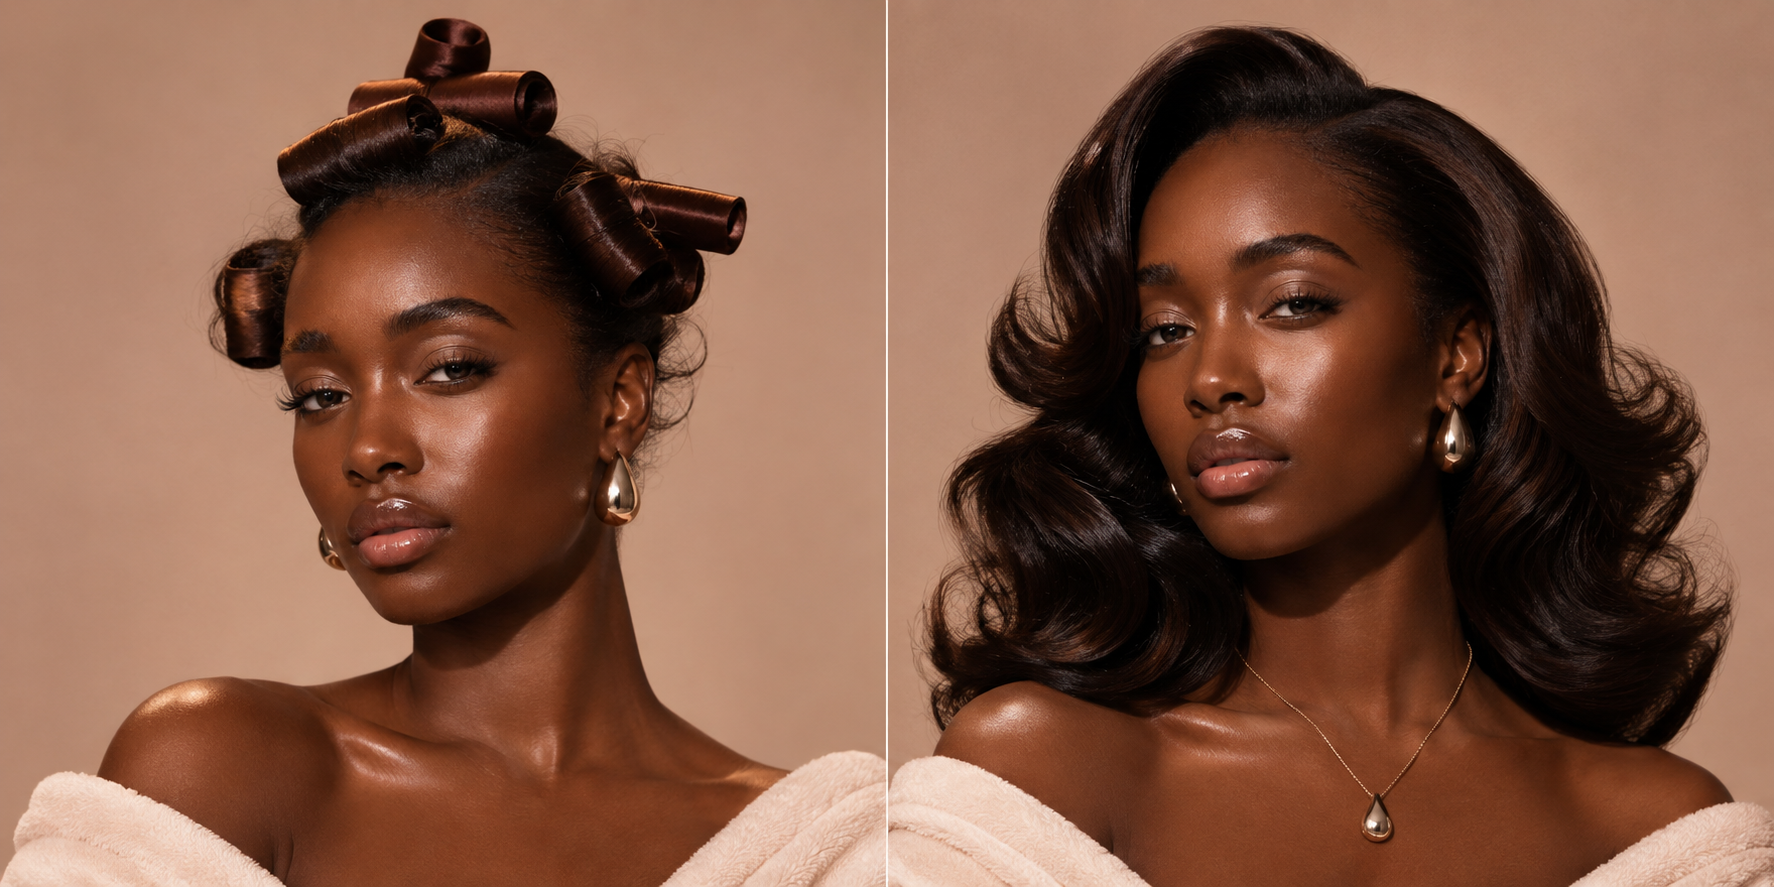
INSTALLATION
How to set your hair
1. Prep your hair
Start with clean, detangled hair. Stretch or blow-dry to your preference before beginning.
2. Section
Clip away the hair you aren’t working on. Take a small or medium section that fits the roller comfortably.
3. Wrap and roll
Smooth the ends against the Satin Flexi Rod and roll towards the root. Bend the ends to hold the roller in place.
4. Repeat and secure
Continue section by section. Check each section and tuck in the ends of the Satin Flexi Rods comfortably. Keep tension gentle around your hairline.
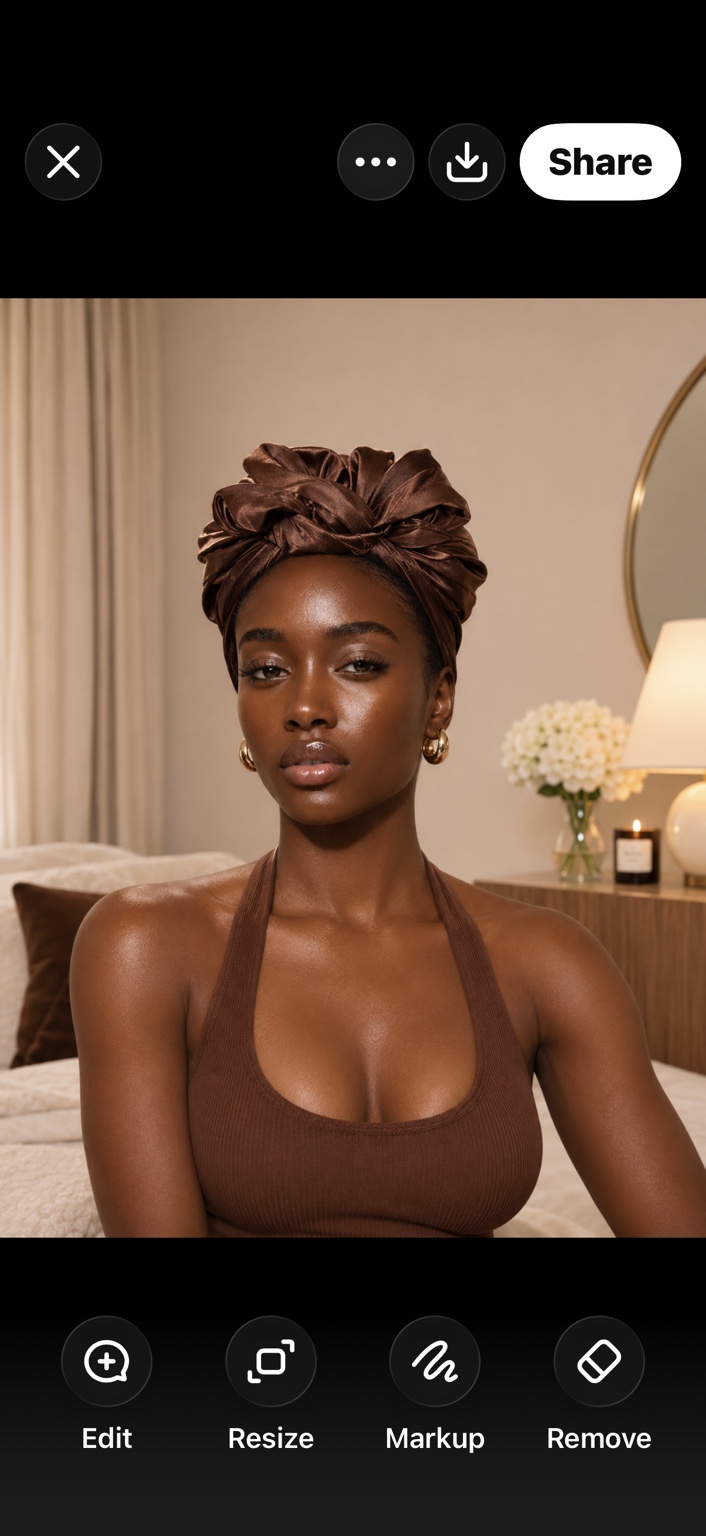
5. Wrap with the satin scarf
Fold the scarf into a triangle, lay it over the set and tie the ends comfortably so it sits securely over the rollers.
6. Cover with the KINKÉ bonnet
Slip the bonnet over your scarf and rollers. Leave the set in for a few hours or overnight, until your hair is fully dry.
Beauty sleep, but make it KINKÉ
Once your set is wrapped, slip on your satin bonnet and let your hair dry fully before you unwrap.
See the bonnet step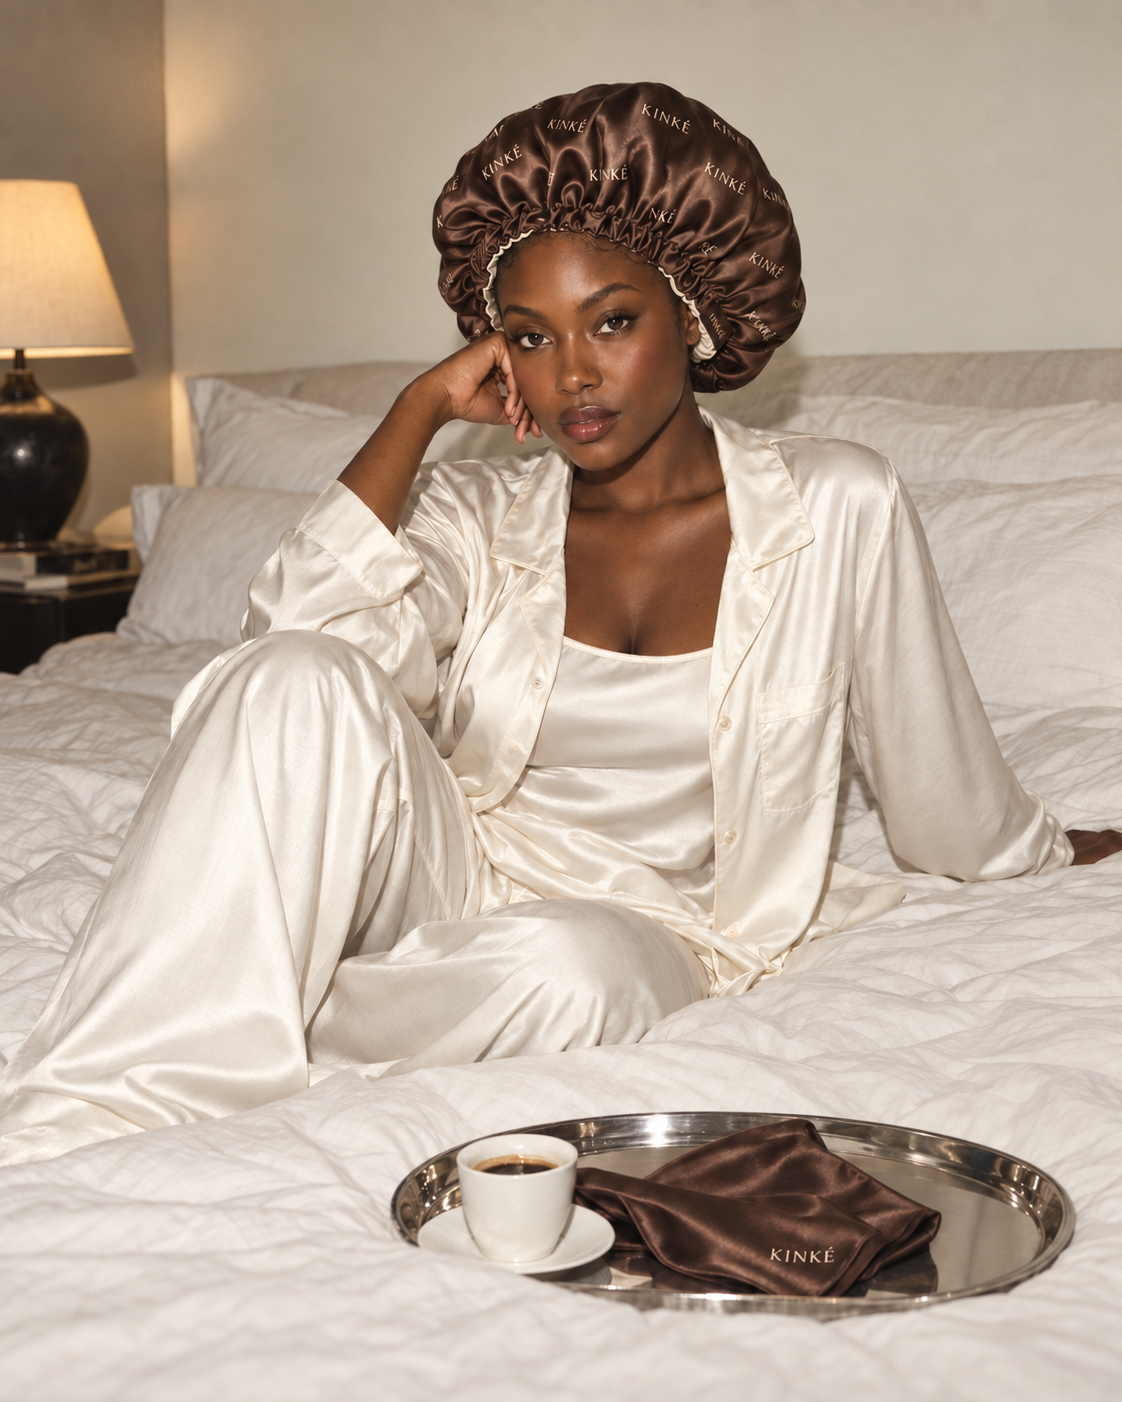
THE REVEAL
Unwrap your KINKÉ blowout
From the complete roller set to the finished curls. Follow each view and each stage of the takedown below.
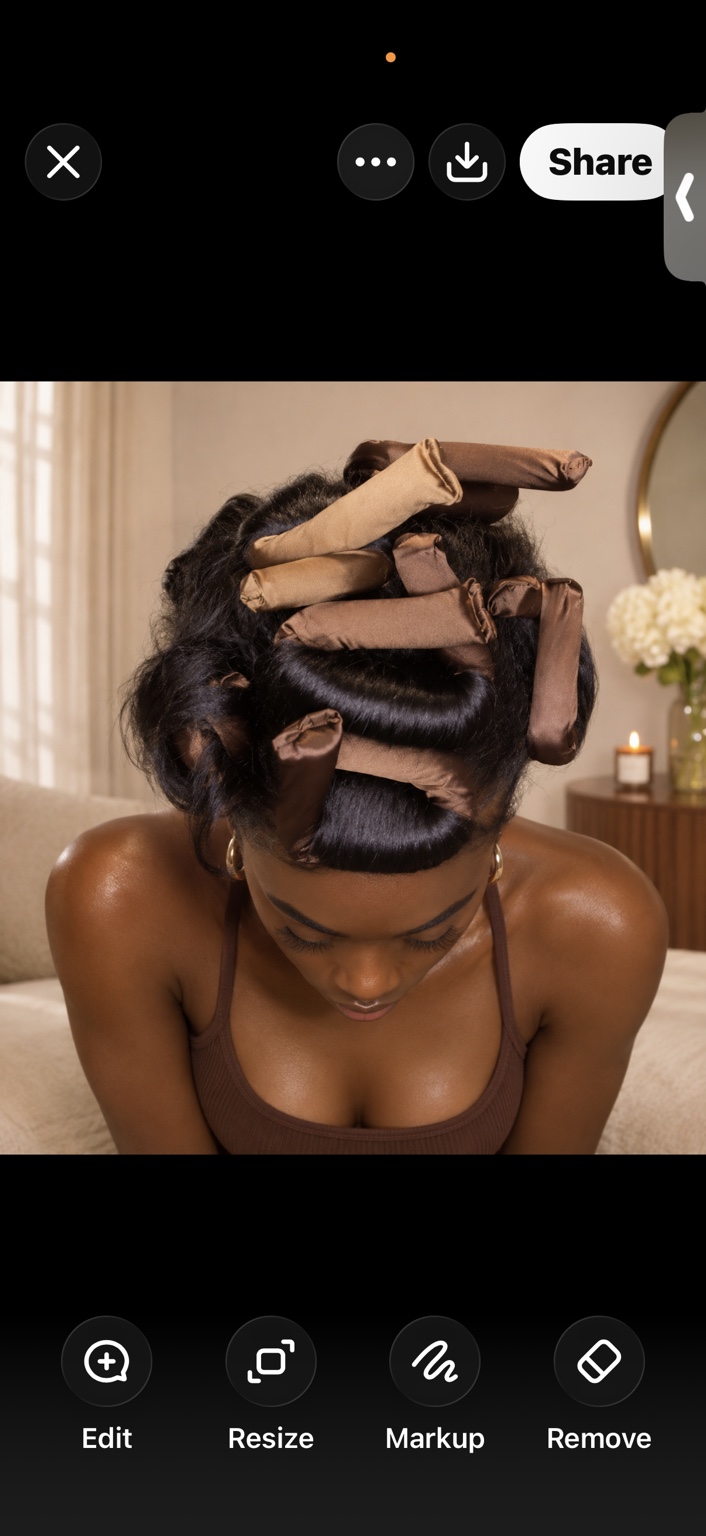 01
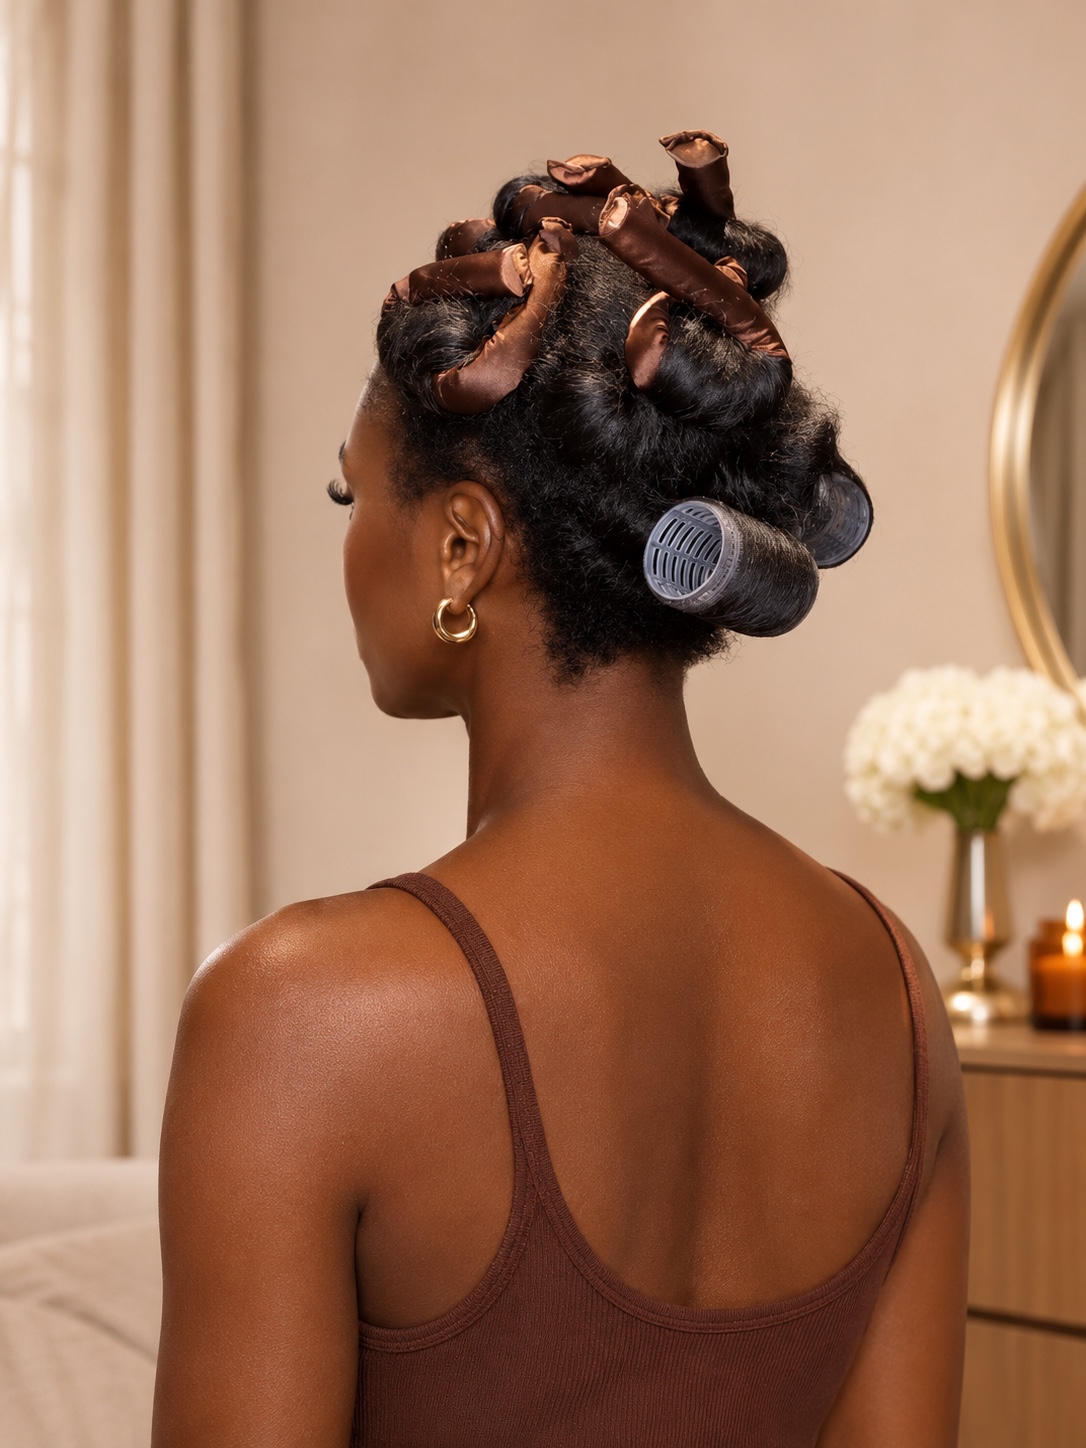
Start with your fully set hair
Your satin rods are still in place. Make sure your hair is completely dry before you begin the takedown.
 02
Check your set from the back
The back view shows the satin rods above and the two Velcro rollers at the nape. Locate each roller before removing it.
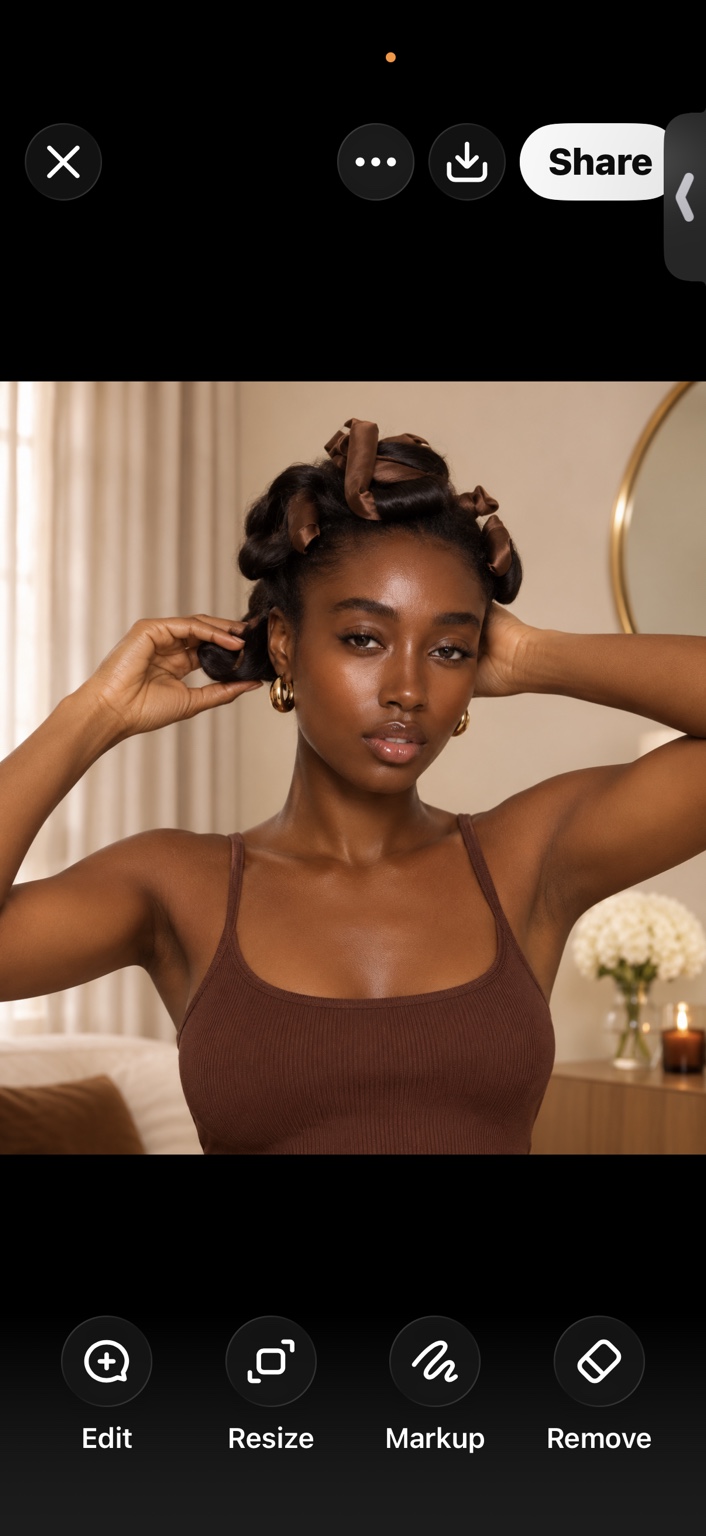 03
Unwind the side sections
Open the bent ends of a satin rod and gently unwind the side section. Let the released curl rest without pulling it apart.
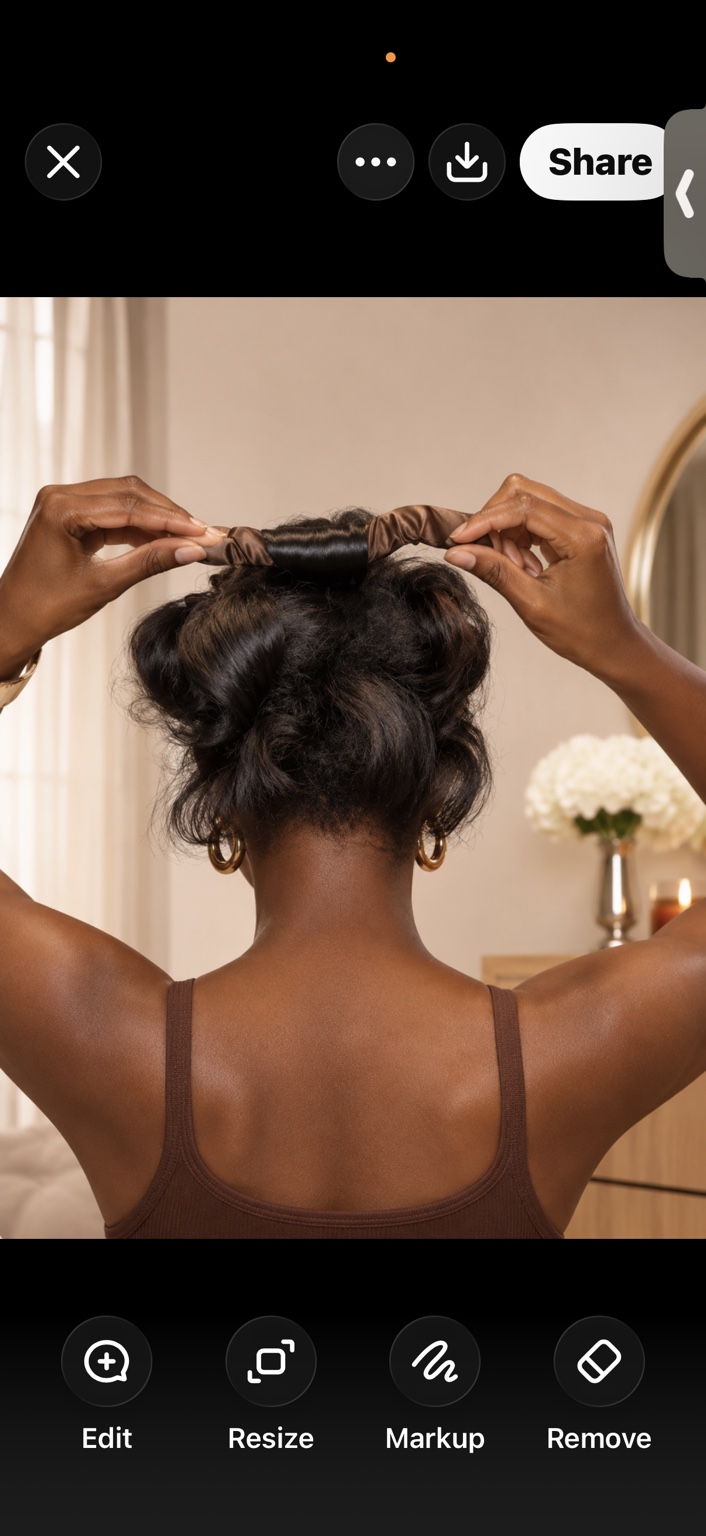 04
Release the remaining back rod
With the lower curls released, straighten the ends of the remaining back rod and carefully unroll the hair.
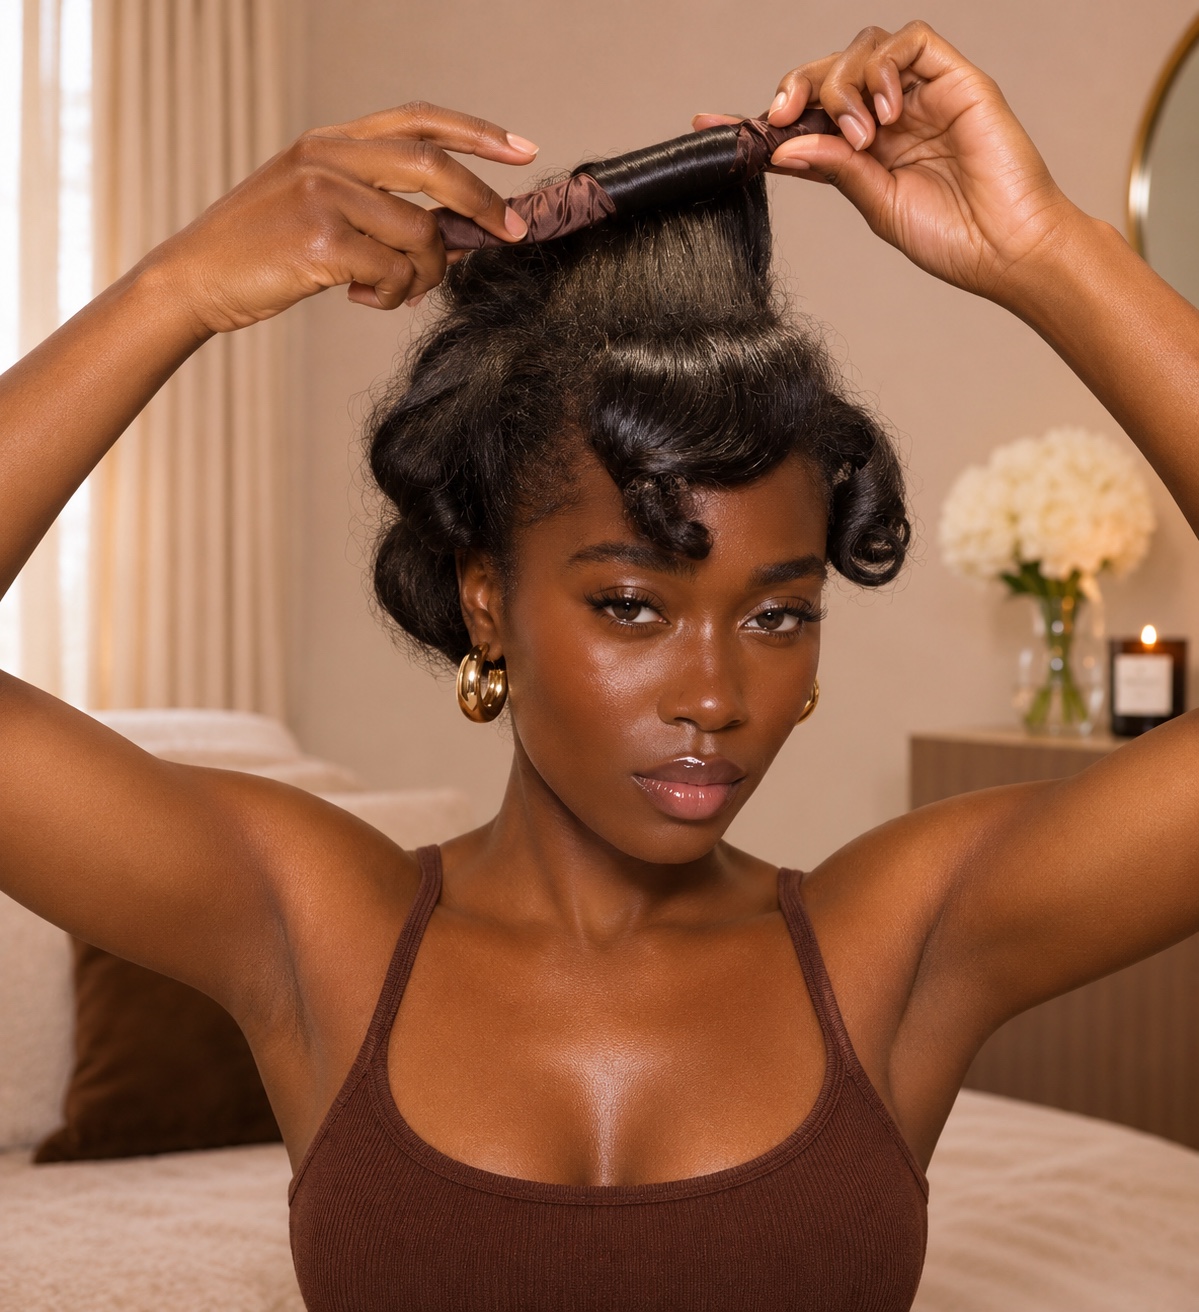 05
Unwrap the front section
Gently unwind the rod at the top and front, supporting the section as the final curl is released.
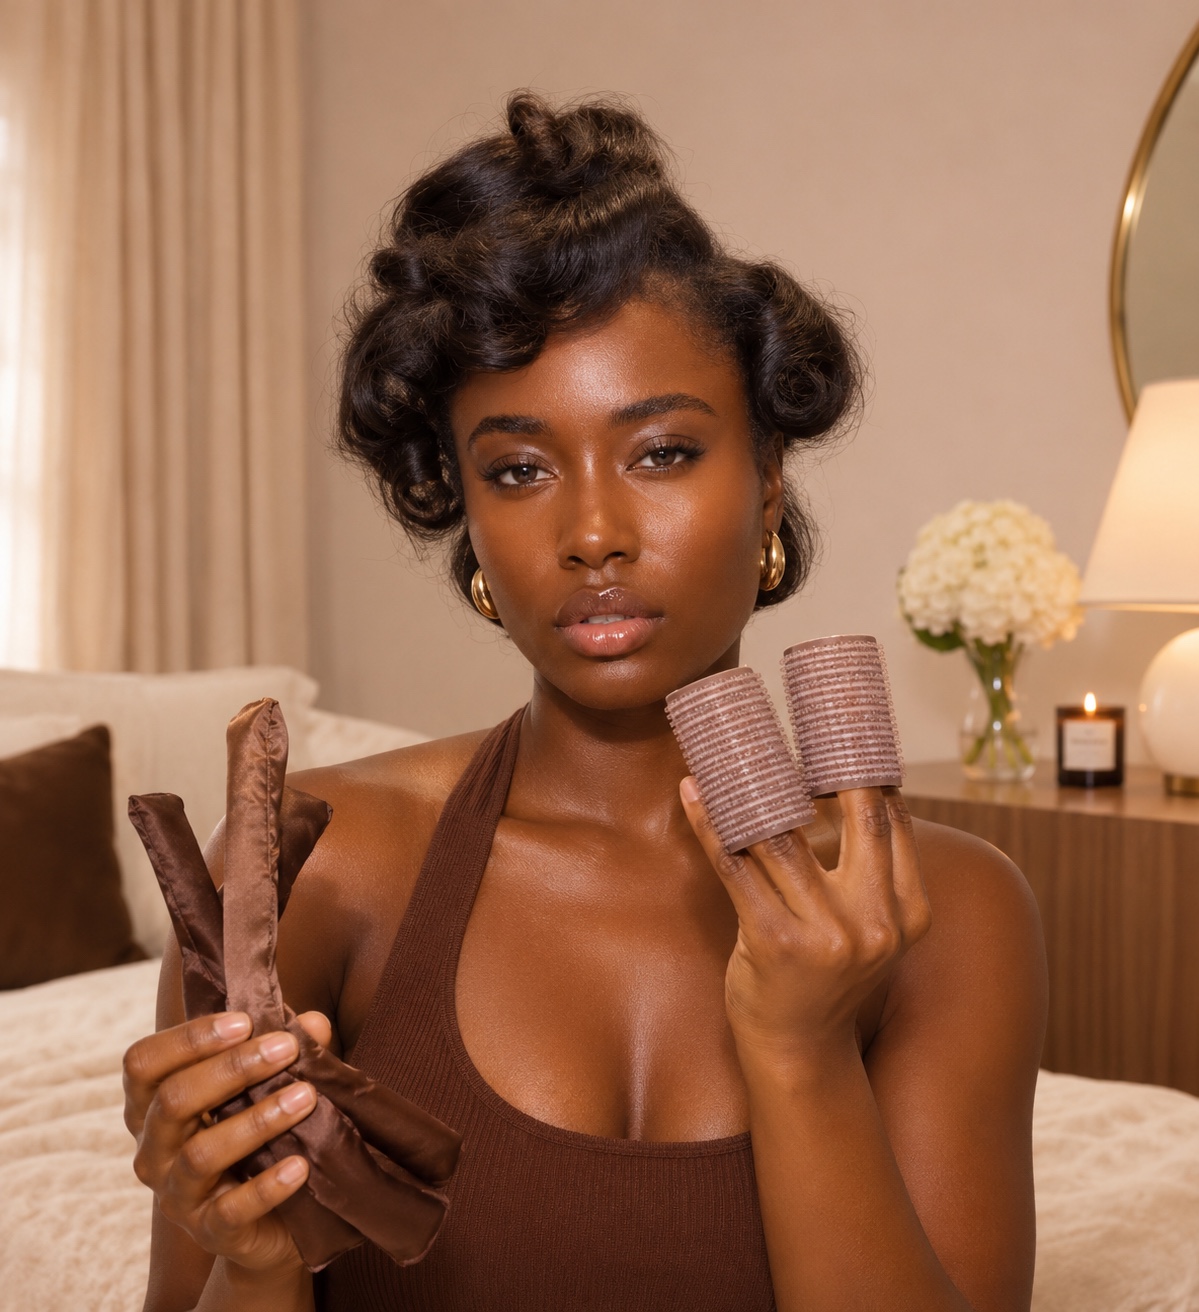 06
All rollers out
The satin rods and Velcro rollers are now removed, leaving defined curls. Set your accessories aside before shaping your hair.
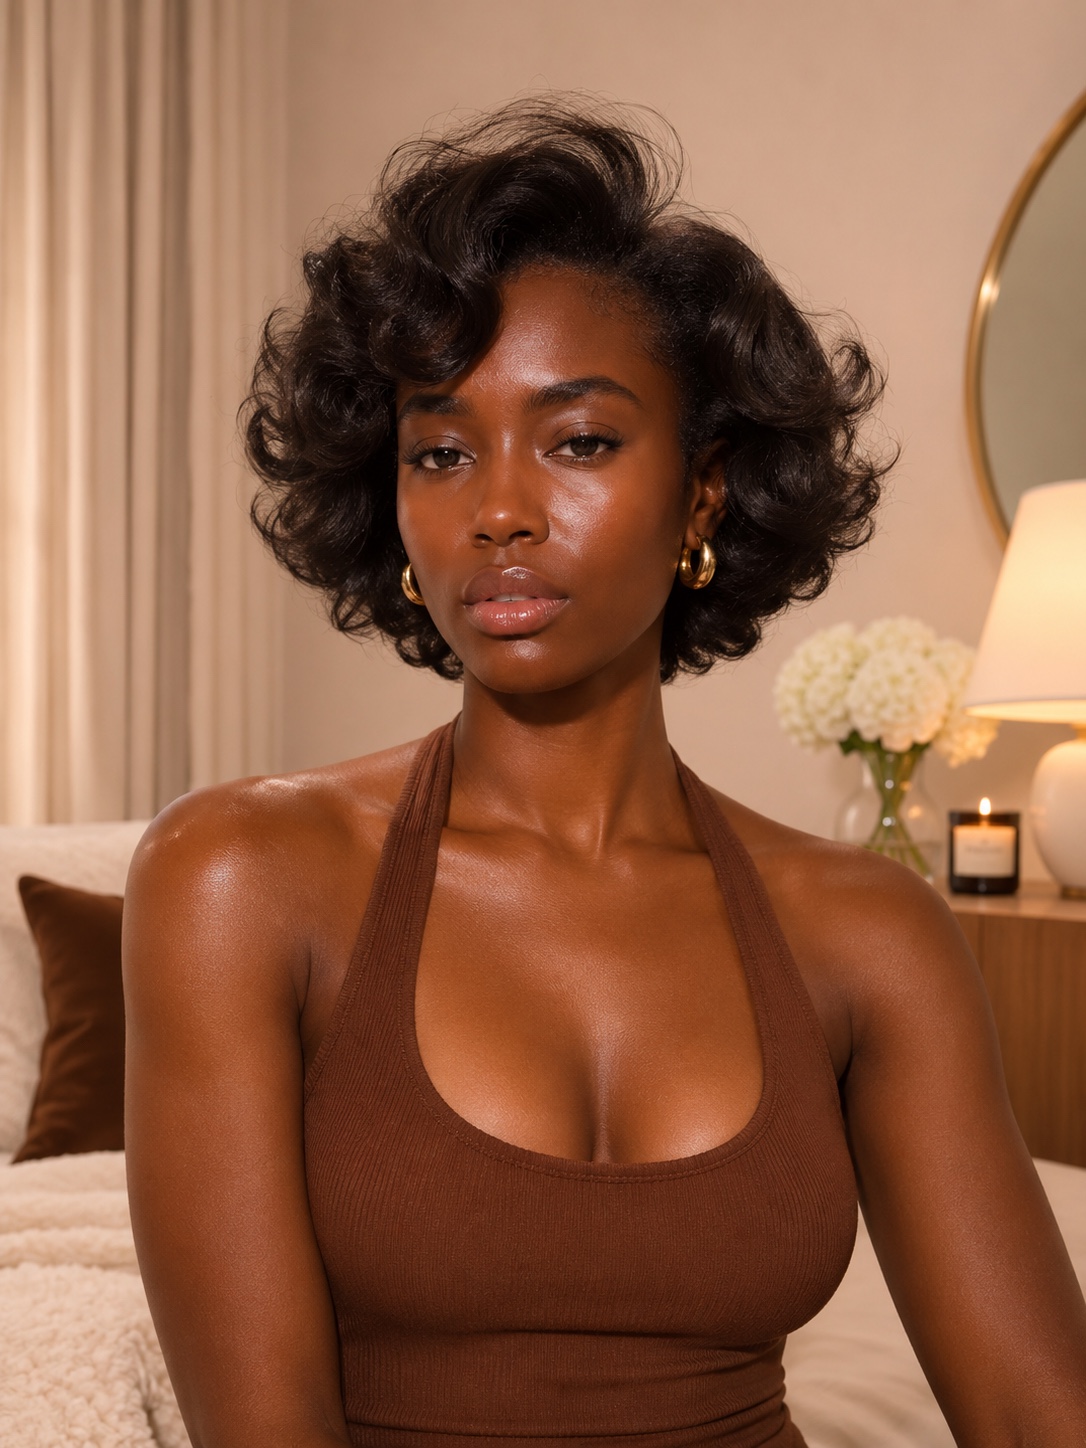 07
Shape your signature finish
Gently separate and arrange the curls with your fingers for a soft, full finish. Keep more definition or add volume to suit your style.